In a slightly hungover state last Sunday I pretended that my staring into space from the sofa was in fact me planning a crafty project for my dear friend Hazel's 30th/ going off travelling gift. It wasn't by the way.
I knew I wanted to make her a travel journal to take on her year long adventure but as I am not a book binder was wasn't sure how to go about it. Would I staple or glue or sew? How many pages? Do I buy a notebook and decorate it? Do I just buy a nice notebook?
So with four evenings left to come up with a solution I stumbled on this sketch book tutorial by Susie Ghahremani of boygirlparty just in the nick of time. That night was spray-mount-tastic.
Fabric-covered Handmade Journal Tutorial


I am afraid I don't have step-by-step photo instructions as I was covered in spray mount. Susie does an excellent job though and I will describe in good old fashioned words the changes I made to my project.
Step 1:
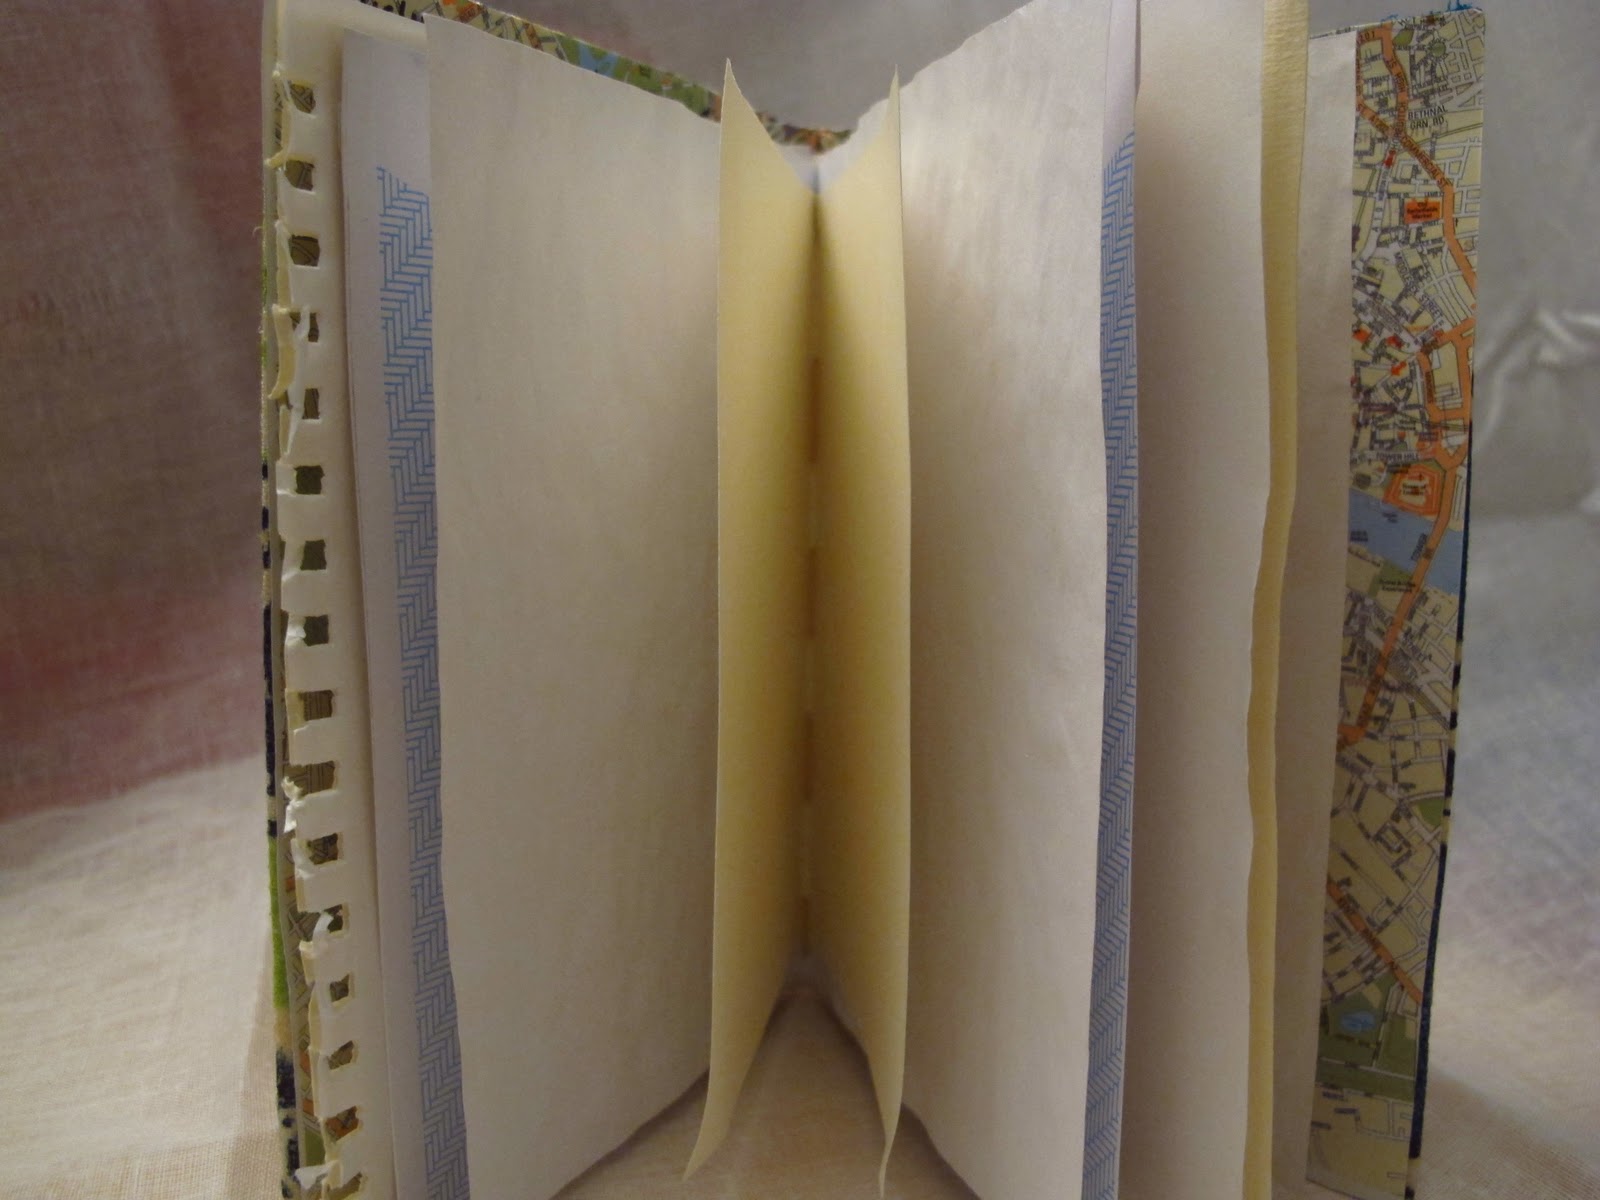
Inspired by my library bear notebook from previous posts I decided to use different types of paper in the journal. It is roughly A6 in size and I used approx 9 bits of A5 paper, folded in half. The paper I used ranged from an old envelope with a pretty blue security pattern to green notepaper given to me by Hazel about 12 years ago.
I then tried to put it through the sewing machine. Not such a good idea.
Step 2:
A bit stumped I moved onto the front cover. I decided to use fabric covered cardboard for my cover so that it would survive a rucksack a bit better. I love this West African fabric. I am going to make a skirt from it soon but I couldn't resist making a little project from it any longer.
From an old cereal box I cut a piece slightly bigger than A5 and folded it in half. I then cut my fabric with about an inch border all the way round and made sure I lined the pattern up with the crease (the back is a different colour as you will see...)
Step 3:
Next spray mount one side of the cardboard and tightly stick the fabric to it. Then spray mount the other side- round the edges and neatly fold over the rest of the fabric as tight as possible but allowing for the fold in the middle. This is a bit messy.
Make sure you don't touch the two sides together...just saying.
Step 4:
BRAINWAVE. I finally worked out how I was going to put the thing together. I cut another piece of paper- this time from a map of London cos that's where she lives for now- just a bit smaller than the inside of the front cover. The plan (B or maybe D) was to sew the pages to this and then stick the map to the inside cover.
I lined the pages up with the map and using just a good old needle and thread, sewed down the fold and securely tied it off at the back. You might want to use a thimble. I do have a dent in my thumb now.
Step 5:
All you have to do now is spray mount inside the front cover and firmly place your sewn together pages to it. Simples.
Step 6:
I wanted to make a band to go round it so you could attach a pen or something. This is just from a bit of elastic I had in the sewing box, but the glorious button is from my grandmother's button box.
 |
| Front |
 |
| Back |
 |
| Inside cover |
 |
| Pages |
 |
| I like the way the torn-out notebook edges stick out a bit |
 |
| Close up of button detail |
So there you have it. One fabric-covered handmade journal.
Thanks again to Susie for your excellent tutorial and to spray mount for making this project possible.
xx
Thanks again to Susie for your excellent tutorial and to spray mount for making this project possible.
xx
No comments:
Post a Comment